
How to install Cockpit on Rocky linux
How to Install Cockpit on Rocky Linux: A Step-by-Step Guide
Introduction to Cockpit and Rocky Linux
Cockpit is a powerful web-based server management tool that allows users to perform various administrative tasks through a user-friendly interface. Rocky Linux, a community-driven enterprise operating system, has gained popularity as a robust and reliable platform for server deployments. In this guide, we will walk you through the process of installing Cockpit on a Rocky Linux server, enabling you to manage your system efficiently.
-
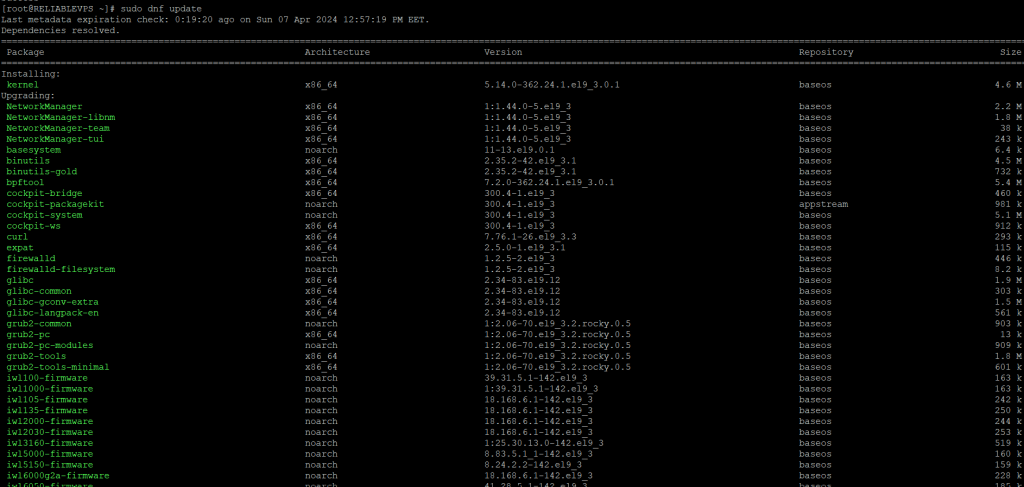
Updating Repositories
Before installing any new software, it’s essential to ensure that your system has the latest package information. Open a terminal on your Rocky Linux server and execute the following command to update the package repositories:
sudo dnf update
-
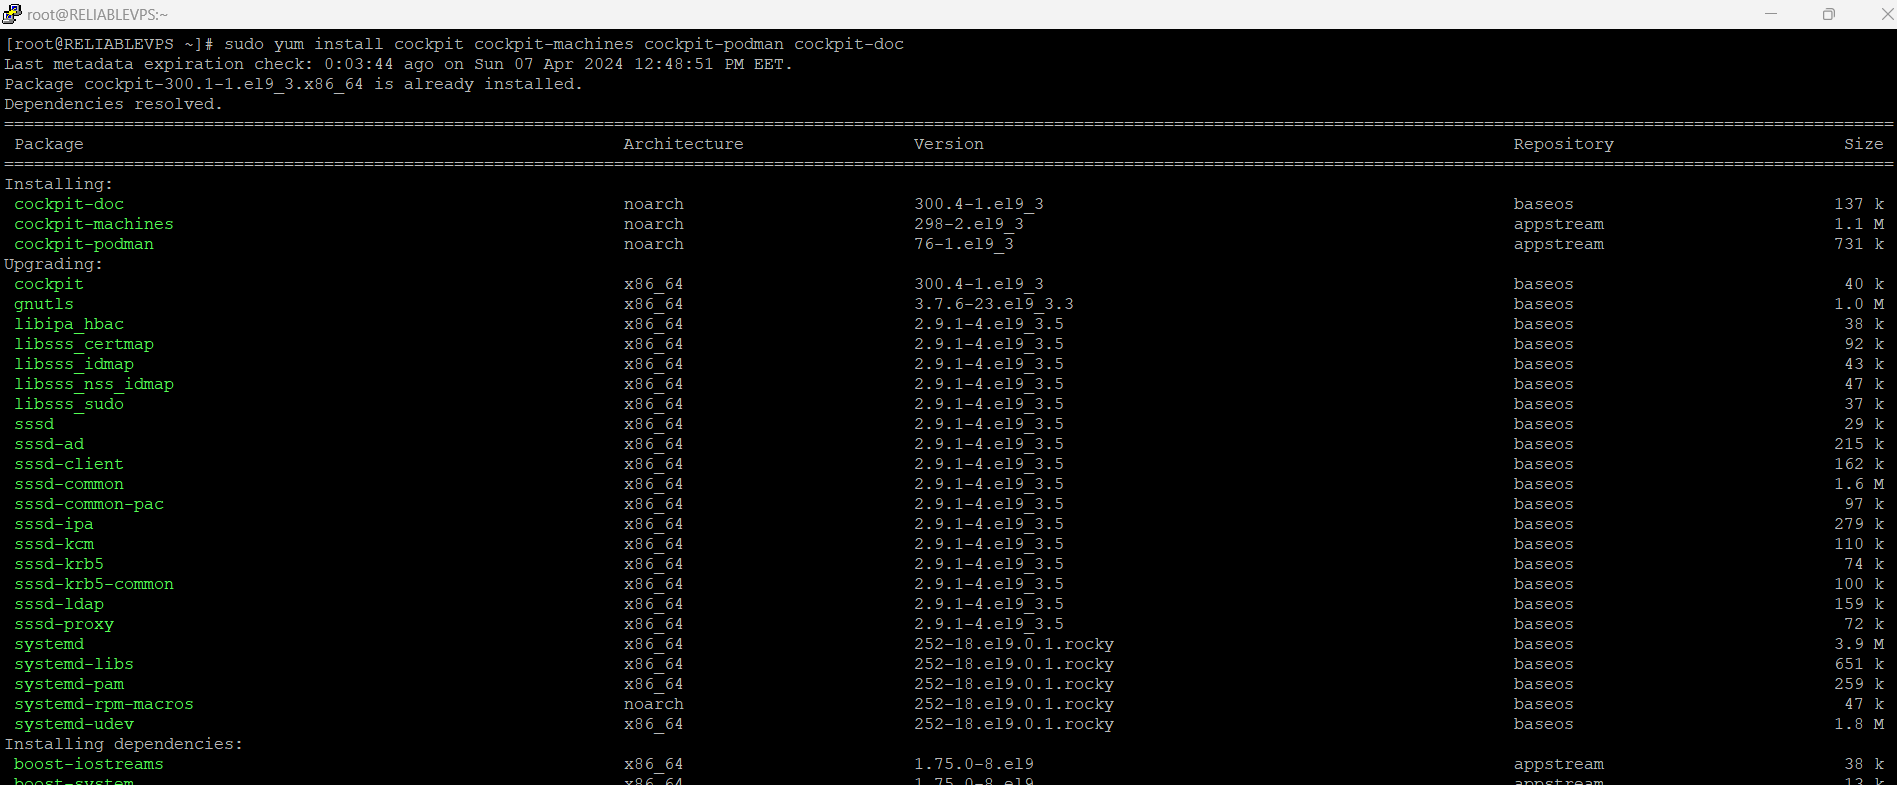
Installing Cockpit
Cockpit is readily available in the default repositories of Rocky Linux, simplifying the installation process. Use the following command to install Cockpit along with additional packages for enhanced functionality:
sudo yum install cockpit cockpit-machines cockpit-podman cockpit-doc
-
Starting and Enabling Cockpit Service
Once Cockpit is installed, you need to start the Cockpit service and enable it to ensure it starts automatically on system boot. Execute the following commands in your terminal:
sudo systemctl start cockpit
sudo systemctl enable cockpit

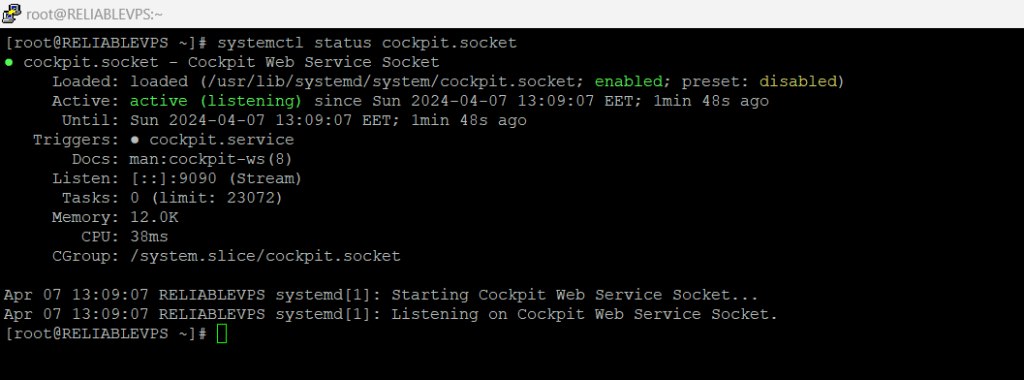
. Checking the Cockpit Service Status
To verify that Cockpit is running correctly, you can check its service status using the following command:
sudo systemctl status cockpit
Check the port on which the service is running
sudo ps auxf|grep cockpit
-
Configuring Firewall Settings
To allow remote access to Cockpit, you need to configure the firewall to permit traffic on the Cockpit port. Execute the following commands to adjust the firewall settings:
sudo firewall-cmd –add-service=cockpit –permanent
sudo firewall-cmd –reload

-
Accessing Cockpit
Once the firewall is configured, you can access Cockpit through a web browser from any remote location. Open your preferred browser and navigate to https://<your_server_ip>:9090, replacing <your_server_ip> with the IP address of your Rocky Linux server.
-
Authentication
Upon accessing the Cockpit web interface, you will be prompted to authenticate. Use your system username and password to log in securely.

Conclusion
By following these straightforward steps, you can successfully install and configure Cockpit on your Rocky Linux server. With Cockpit’s intuitive interface, server management becomes more accessible, allowing you to monitor and administer your system efficiently.
FAQs (Frequently Asked Questions)
-
Can Cockpit be installed on other Linux distributions besides Rocky Linux?
Yes, Cockpit is compatible with various Linux distributions, including CentOS, Fedora, and Ubuntu.
-
Is Cockpit suitable for managing Virtual Private Servers (VPS)?
Absolutely! Cockpit provides comprehensive server management capabilities, making it ideal for VPS administration.
-
How can I change the default port for accessing Cockpit?
You can modify the default port for Cockpit by editing its configuration file located in /etc/cockpit/cockpit.conf.
-
Does Cockpit support container management?
Yes, Cockpit includes support for managing containers, allowing users to monitor and control containerized applications effortlessly.
-
Can I install additional plugins or extensions for Cockpit?
Yes, Cockpit supports plugins and extensions, enabling users to customize the functionality according to their specific requirements.