
How to Upgrade Ubuntu?
How to Upgrade Ubuntu?
Tips for Updating Your Ubuntu Server
When it comes to keeping your Ubuntu system up-to-date, knowing how to upgrade is essential. Whether you’re managing a server or a Virtual Private Server (VPS), staying current with the latest Ubuntu version ensures optimal performance, security, and access to new features. In this comprehensive guide, we’ll explore various methods to upgrade Ubuntu, catering to both novice users and seasoned administrators.
Getting Your Ubuntu Version
Before diving into the upgrade process, it’s crucial to identify your current Ubuntu version. Knowing this information ensures you select the appropriate upgrade path and avoid potential compatibility issues.
Checking Your Ubuntu Version
To check your Ubuntu version, open a terminal and execute the following command:
lsb_release -a
This command will display detailed information about your Ubuntu installation, including the release number and codename.
Upgrading Ubuntu Server
For those managing Ubuntu servers, keeping the operating system up-to-date is paramount for maintaining system integrity and security. Here’s a step-by-step guide to upgrading your Ubuntu server:
1- Updating Package List
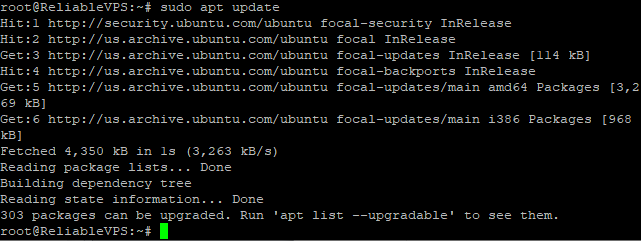
To begin the upgrade process, ensure your package list is up-to-date by running the following command:
sudo apt update
-
Upgrading Existing Packages
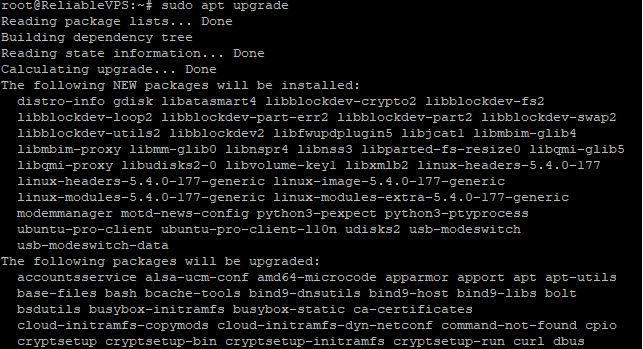
Once the package list is updated, proceed to upgrade existing packages using the following command:
sudo apt upgrade
-
Installing Update Manager
If the Update Manager is not already installed on your Ubuntu server, you can install it by executing the following command:
sudo apt install update-manger-core

The Update Manager simplifies the upgrade process by providing a graphical interface for managing system updates.
Initiating the Upgrade
With the Update Manager installed, you can start the upgrade process by running the following command:
sudo do-release-upgrade

Upgrading Ubuntu VPS
For users managing Ubuntu-based Virtual Private Servers (VPS), upgrading the operating system is equally important for maintaining security and performance. Here’s how you can upgrade your Ubuntu VPS:
Accessing Your VPS
First, ensure you have SSH access to your Ubuntu VPS. You can use terminal or an SSH client like PuTTY to connect to your VPS remotely.
Updating Package List
Once connected to your VPS, update the package list using the following command:
sudo apt update
This command ensures that your VPS has the latest package information from Ubuntu repositories.
Upgrading Existing Packages
After updating the package list, proceed to upgrade existing packages by executing the following command:
sudo apt upgrade
This command installs available updates for all installed packages on your VPS, ensuring optimal performance and security.
Installing Update Manager
If the Update Manager is not already installed on your VPS, you can install it by running the following command:
sudo apt install update-manager-core
The Update Manager simplifies the upgrade process by providing a user-friendly interface for managing system updates.
Initiating the Upgrade
Once the Update Manager is installed, start the upgrade process by executing the following command:
sudo do-release-upgrade
Follow the on-screen prompts to complete the Ubuntu release upgrade process for your VPS, ensuring a seamless transition to the latest version.
Conclusion
Upgrading Ubuntu is a vital task for maintaining system security, stability, and access to the latest features. Whether you’re managing a server or a VPS, following the proper upgrade procedures ensures a seamless transition to the latest Ubuntu version. By keeping your system up-to-date, you can enjoy improved performance, enhanced security, and a better overall computing experience.
FAQs (Frequently Asked Questions)
Can I upgrade Ubuntu without losing data?
Yes, Ubuntu upgrades typically preserve user data and configurations. However, it’s always recommended to back up important files before performing an upgrade to avoid any potential data loss.
How long does it take to upgrade Ubuntu?
The duration of the upgrade process can vary depending on factors such as internet speed, server performance, and the size of the update. On average, a standard Ubuntu upgrade may take anywhere from 30 minutes to an hour.
Is it necessary to reboot the system after upgrading Ubuntu?
Yes, it’s essential to reboot your system after completing the Ubuntu upgrade process. Rebooting ensures that all changes take effect and that your system operates with the latest updates installed.
Can I upgrade Ubuntu using a GUI instead of the command line?
Yes, Ubuntu provides a graphical update manager that simplifies the upgrade process for users who prefer a visual interface. You can access the update manager through the Ubuntu Software application.
Will upgrading Ubuntu affect my installed applications?
In most cases, upgrading Ubuntu should not affect your installed applications. However, it’s recommended to review any release notes or compatibility issues related to specific applications before proceeding with the upgrade.
What should I do if the upgrade process encounters errors?
If you encounter errors during the Ubuntu upgrade process, refer to the official Ubuntu documentation or community forums for troubleshooting steps. In some cases, you may need to resolve dependency issues or manually install missing packages.